Introduction
One will discover how to construct a personalized lap pad that delivers deep‑touch pressure, a sensory input proven to improve concentration and reduce anxiety. The guide explains each phase of the creation process, from material selection to final stitching, while offering optional product recommendations that simplify the workflow. Readers will gain confidence to craft a tool that can be used at home, in the classroom, or during travel. By the end of the article, one will possess a functional lap pad and the knowledge to adapt it for future sensory needs.
What You’ll Need
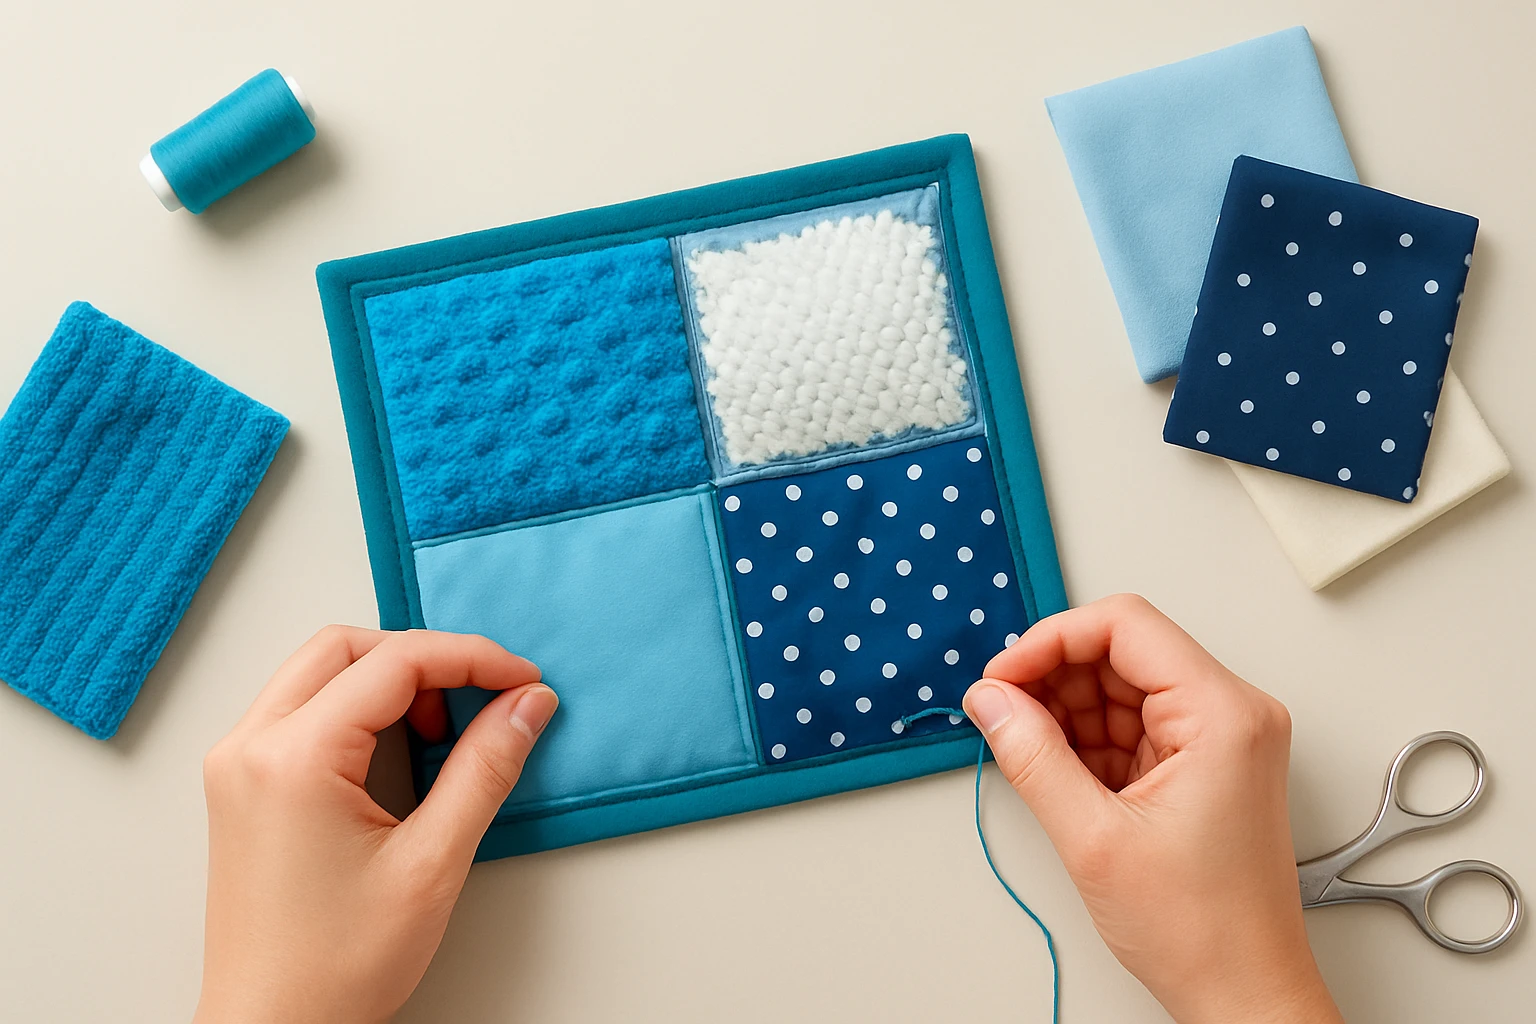
- Soft, textured fabric such as minky or fleece (approximately 21 in × 19 in for a standard lap size).
- Weighted filler – glass beads, steel shot, or natural rice beans, totaling five pounds for a child‑sized pad.
- Heavy‑duty sewing thread and a needle or sewing machine capable of handling thick layers.
- Scissors, measuring tape, and fabric pins.
- Optional: a pre‑made weighted lap pad for reference or immediate use. The Harkla Lavender Weighted Lap Pad for Kids provides a ready‑made solution that exemplifies optimal weight distribution and fabric quality.
Step 1: Choose the Right Fabric
The first step involves selecting a fabric that offers both comfort and durability. One should prefer 100 % polyester minky dotted fabric because it supplies tactile sensory input while remaining gentle on the skin. The Harkla pad utilizes this material, demonstrating its suitability for prolonged contact. If one desires a color that matches personal preference, the lavender hue of the Harkla product illustrates a calming palette that can be replicated with similar fabrics.
Step 2: Determine the Weight Distribution
Deep‑touch pressure works best when weight is evenly spread across the pad’s surface. One must calculate the total weight – five pounds is recommended for children ages four to eight, mirroring the specifications of the Harkla weighted lap pad (5 lb, 21 in × 19 in). To achieve this, divide the filler into small packets, each sealed in a breathable fabric pouch. This method prevents shifting and ensures consistent pressure, a principle that the Harkla product follows by embedding weight within a uniform interior.
Step 3: Cut the Fabric Panels
Measure and cut two identical fabric rectangles measuring 21 inches by 19 inches. One rectangle will serve as the front surface, while the other becomes the back. It is advisable to add a half‑inch seam allowance on all sides, resulting in a final size of 22 inches by 20 inches before stitching. Using the Harkla pad as a template can help verify that the dimensions provide a comfortable lap coverage without extending beyond the thighs.
Step 4: Assemble the Weight Pouches
Prepare small fabric squares (approximately 4 inches by 4 inches) from the same minky material. Place a measured amount of filler – roughly one‑quarter pound per pouch – into each square, then sew the edges using a tight stitch. Arrange the sealed pouches in a grid pattern on the interior side of the front panel, leaving a one‑inch margin from the edges. This layout mimics the internal construction of the Harkla pad, which distributes weight evenly to avoid pressure points.
Step 5: Sew the Pad Together
Pin the front and back panels together, right sides facing each other, while ensuring the weight pouches remain centered. Sew around the perimeter using a 1‑inch seam allowance, but leave a 6‑inch opening on one side for final adjustments. After stitching, turn the pad right side out through the opening. The Harkla product is fully sealed, yet the opening in a DIY version allows one to add or remove filler as the child’s needs evolve.
Step 6: Secure the Opening
Close the remaining opening with a hidden stitch or a decorative top‑stitched line that matches the fabric color. This final seam not only secures the filler but also adds a professional finish. One may also reinforce the edges with a bias tape for extra durability, a technique often employed in commercial sensory products.
Step 7: Test the Pad for Comfort
Place the completed lap pad on a flat surface and gently press to assess weight distribution. The pad should feel like a steady, soothing hug without any hard spots. If any area feels uneven, one can reopen the seam, adjust the filler, and reseal. The Harkla pad’s lifetime guarantee underscores the importance of ensuring long‑term comfort, a standard that a DIY version should strive to meet.
Tips & Pro Tips
- Use a fabric marker to outline the placement of weight pouches before sewing; this prevents misalignment.
- Consider adding a removable cover made from breathable cotton for easy cleaning; the Harkla pad includes a washable cover that extends its lifespan.
- When selecting filler, choose hypoallergenic materials if the child has sensitivities; glass beads are odorless and do not attract pests.
- Store the pad in a dry environment to prevent mildew; the polyester minky fabric resists moisture but benefits from proper storage.
Troubleshooting
Problem: The pad feels too heavy for the child.
Solution: Open the seam and remove a few filler pouches until the weight matches the child’s comfort level. The Harkla pad offers a size‑specific weight, illustrating that adjustments are normal during the fitting process.
Problem: The fabric frays at the edges after repeated use.
Solution: Reinforce the seams with a double stitch or apply a fabric binding. Commercial products such as the Harkla pad mitigate this issue by using high‑quality stitching techniques.
Conclusion
One now possesses a complete, step‑by‑step method for creating a sensory lap pad that promotes calm and focus. The guide has covered material selection, weight distribution, assembly, and testing, while also presenting optional product recommendations that illustrate professional standards. By following these instructions, one can provide a therapeutic tool that supports academic performance, emotional regulation, and everyday comfort. Readers are encouraged to experiment with colors, fabrics, and weight levels to tailor the pad to individual preferences.
Products Mentioned in This Guide
Frequently Asked Questions
What fabrics are recommended for a DIY sensory lap pad?
Soft, textured fabrics like minky or fleece are ideal because they are comfortable and hold weight well.
How much total weight should a child‑sized lap pad contain?
Aim for about five pounds of filler to provide effective deep‑touch pressure without being too heavy.
Can I use rice beans instead of glass beads as filler?
Yes, natural rice beans work fine; just ensure they are sealed in a durable pouch to prevent leakage.
What stitching method works best for thick, weighted layers?
Use a heavy‑duty thread and a straight‑stitch or triple‑stitch on a sewing machine, reinforcing seams with extra stitches at stress points.
How can I adjust the lap pad for different sensory needs?
Change the filler type or amount, add removable pockets, or vary the fabric texture to customize pressure and tactile input.