How to Set Up a Sensory Trial Booth in Retail Stores: Step‑by‑Step Guide to Boost Customer Engagement and Sales
Introduction
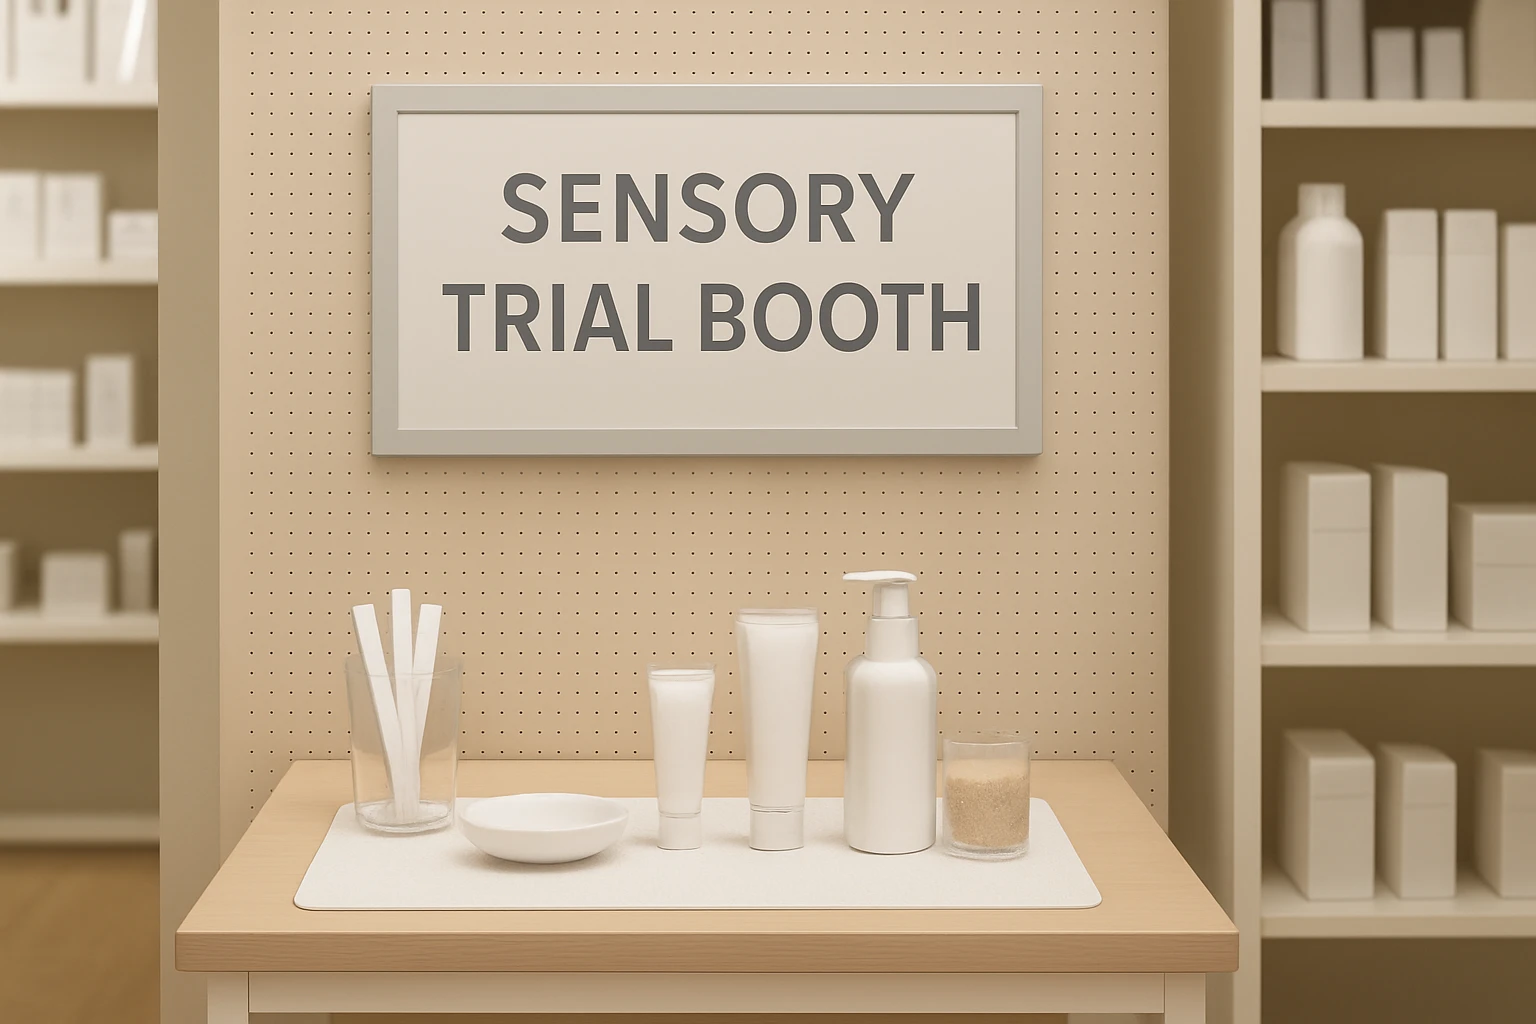
Retail environments that invite customers to touch, smell, and taste products generate higher conversion rates than static displays. This guide explains how to design, assemble, and operate a sensory trial booth that encourages interaction while maintaining brand integrity. Readers will learn the essential materials, layout principles, and practical techniques that transform a simple corner into a memorable experience. By following the steps, one can increase dwell time, gather valuable feedback, and ultimately drive sales growth.
What You'll Need
- Display tables or stands to showcase samples
- Sturdy base for stability on high‑traffic floors
- Sample containers, tasting utensils, and waste management solutions
- Signage, lighting, and branding elements
- Cleaning supplies to maintain hygiene throughout the day
All of these items can be sourced from the recommended products below, each selected for durability, ease of assembly, and aesthetic compatibility with retail settings.
Step 1: Choose the Ideal Location
Select a high‑visibility area near the entrance or adjacent to complementary merchandise. The space should allow a clear flow of traffic without obstructing existing aisles. Measure the footprint to ensure that the chosen display furniture will fit comfortably. Consider lighting conditions; natural light enhances product appearance, while adjustable spotlights can highlight specific samples.
Step 2: Install a Stable Base
Stability is crucial to prevent wobbling when customers interact with the booth. The Foldable Cardboard Display Stand provides a lightweight yet robust honeycomb structure that can be set up without tools. Its high‑density recycled paper resists wear and supports up to 200 lb, making it suitable for heavy sample trays. The fold‑away design allows quick storage after the promotion ends, saving valuable floor space. At a price of $519.00 and a 4.9‑star rating, it offers premium stability for a one‑time investment.
Step 3: Arrange Tiered Display Tables
Layered tables create visual interest and enable customers to view multiple product categories simultaneously. The JAYEUW White Nesting Display Tables Set includes two heights (29.5" and 35.4") that can be arranged in a cascading fashion. Each table supports up to 50 lb, sufficient for most sample containers and promotional literature. The carbon‑steel construction with a high‑temperature baked finish resists rust and deformation, ensuring a long‑lasting presentation. Priced at $129.00 with a 4.1‑star rating, the set balances elegance and durability, fitting boutique aesthetics and larger retail floors alike.
Step 4: Set Up the Sample Presentation Unit
The centerpiece of a sensory booth is the sample display that invites tasting or testing. The PureLinensliey Food Sample Display Stand offers a freestanding stainless‑steel base, a clear tasting compartment, and an integrated waste bin. Its 43.31‑inch height ensures visibility without overwhelming the surrounding space. The smooth, rounded edges protect customers from accidental cuts, while the built‑in toothpick holder streamlines the sampling process. For $47.99 and a 4.7‑star rating, it delivers a professional look at a modest cost.
Step 5: Add Branding and Signage
Effective signage communicates the purpose of the booth and reinforces brand identity. Use high‑contrast graphics printed on durable vinyl that can be attached to the back of the display tables with Velcro or magnetic strips. Position the brand logo at eye level on the tallest table to capture attention as customers approach. Include concise calls to action, such as "Try Now" or "Sample Free," to motivate interaction. Ensure that any text complies with local advertising regulations regarding health claims.
Step 6: Implement Lighting Solutions
Proper illumination accentuates product textures and colors, making samples more appealing. LED strip lights can be affixed to the underside of each tiered table, providing even, energy‑efficient lighting. Adjustable spotlights above the central sample stand draw focus to the tasting area. Aim for a color temperature of 4,000–5,000 K to mimic natural daylight, which enhances perceived freshness of food items. Secure all wiring to prevent tripping hazards and comply with store safety policies.
Step 7: Prepare Hygiene Protocols
Maintaining cleanliness is essential, especially when offering food samples. Place disposable gloves, hand sanitizer, and cleaning wipes at the back of the booth for staff use. The waste bin integrated into the PureLinensliey Food Sample Display Stand simplifies disposal of used toothpicks and napkins, keeping the area tidy. Schedule regular cleaning intervals—ideally every 30 minutes—to remove spills and replenish fresh samples. Document the cleaning routine to ensure consistency across staff members.
Step 8: Train Staff on Engagement Techniques
Staff should greet customers warmly, explain the product benefits, and invite them to sample. Role‑play scenarios where employees ask open‑ended questions like "What flavor profile do you prefer?" to gather insights. Encourage staff to demonstrate proper sampling etiquette, such as using the provided toothpick holder and disposing of waste promptly. Record feedback in a simple log sheet to identify trends that can inform future product development.
Tips & Pro Tips
- Use a neutral backdrop on the back wall to keep focus on the samples rather than surrounding décor.
- Rotate sample varieties every hour to maintain novelty and encourage repeat visits.
- Integrate QR codes on signage that link to product pages, enabling customers to purchase online after the trial.
- Consider seasonal themes—such as autumnal colors or holiday motifs—to align the booth with broader marketing campaigns.
- Monitor foot traffic with a simple click counter to quantify the booth’s impact on store visits.
Troubleshooting
Problem: The display tables wobble on uneven flooring.
Solution: Adjust the feet on the JAYEUW White Nesting Display Tables Set by turning the 0.2" leveling screws until the surface is level.
Problem: The cardboard stand loses rigidity after repeated assembly.
Solution: Store the stand flat when not in use to prevent creasing, and inspect the honeycomb panels for damage before each event.
Problem: Sample waste accumulates quickly, creating a mess.
Solution: Empty the integrated waste bin of the PureLinensliey Food Sample Display Stand every 15 minutes and replace the liner.
Conclusion
By following this systematic approach, retailers can create a sensory trial booth that captivates shoppers, encourages product interaction, and drives measurable sales uplift. The recommended tools—stable base, tiered tables, and a dedicated sample stand—streamline setup while delivering a polished, professional appearance. Remember to prioritize hygiene, clear signage, and staff engagement to maximize the booth’s effectiveness. With thoughtful execution, the sensory booth becomes a repeatable asset in any retail strategy.
Products Mentioned in This Guide
Frequently Asked Questions
What is a sensory trial booth and why should retailers use one?
It is an interactive display that lets customers touch, smell, or taste products, increasing engagement and conversion rates.
How much floor space is needed to set up a sensory trial booth?
Typically 4‑6 ft², enough for a table, signage, and a clear traffic flow in a corner or end‑cap.
What essential equipment should be included in the booth?
Display tables, a sturdy base, sample containers, tasting utensils, waste bins, branded signage, lighting, and cleaning supplies.
How can retailers maintain hygiene during product sampling?
Use disposable utensils, provide hand sanitizer, clean surfaces regularly, and replace samples frequently.
What are best practices for branding and signage at a sensory booth?
Keep branding consistent with store visuals, use eye‑catching signs, and highlight key product benefits in concise copy.